
Description
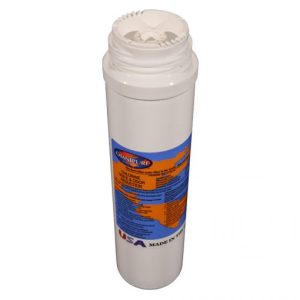
How to Install and Flush the Fluoride Removal Replacement Cartridge
Follow these crucial steps to ensure optimal performance and the best-tasting filtered water:
- Unpack the new fluoride replacement cartridge.
- Connect it to your water filter system, but don’t turn on the water yet.
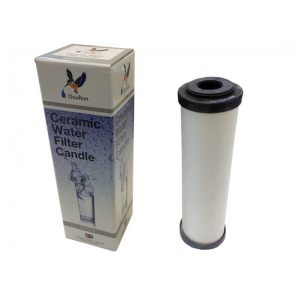
- Remove all filtration cartridges that come after the fluoride removal cartridge (typically in position 1 or 2). Handle the ceramic cartridge with care, as if it were an egg.
- Install only the fluoride removal cartridge, then turn on the water and check for leaks.
- Flush the system for 20 minutes with only the fluoride cartridge installed. If desired, you can collect this water for plants.
- Turn off the water supply and open the faucet to release pressure and drain.
- Reinstall the other cartridges in their original positions.
- Tighten all housings and turn the water supply back on. Check for leaks.
- Flush the entire system for 10 minutes.
- After 12 hours, flush the system again for 3 minutes.
Your water filter is now ready for use.
Reviews
There are no reviews yet.