
Description
How to Install and Flush the Fluoride Removal Replacement Cartridge
Follow these crucial steps to ensure optimal performance and the best-tasting filtered water:
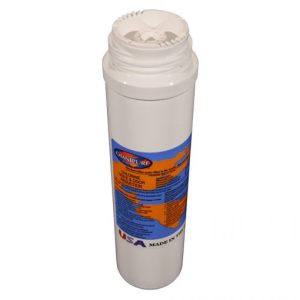
- Unpack the new fluoride replacement cartridge.
- Connect it to your water filter system, but don’t turn on the water yet.
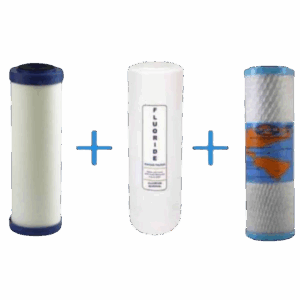
- Remove all filtration cartridges that come after the fluoride removal cartridge (typically in position 1 or 2). Handle the ceramic cartridge with care, as if it were an egg.
- Install only the fluoride removal cartridge, then turn on the water and check for leaks.
- Flush the system for 20 minutes with only the fluoride cartridge installed. If desired, you can collect this water for plants.
- Turn off the water supply and open the faucet to release pressure and drain.
- Reinstall the other cartridges in their original positions.
- Tighten all housings and turn the water supply back on. Check for leaks.
- Flush the entire system for 10 minutes.
- After 12 hours, flush the system again for 3 minutes.
Your water filter is now ready for use.

Irene –
Great service and communication! This is my second time ordering. To replace the filter we have. I made a mistake and ordered the wrong cartridge size without me being aware of it, but Living Whole noted the error and promptly notified me and corrected the order. How good is that?! Thank you for an amazing service and product once again!